GIVE KIDS THE WORLD PILLOW PROGRAM INFO:
I copied the following from a thread on the disboards:
HELP needed for GKTW pillow program!
Give Kids The World is running low on Dream pillows for their Pillow Tree program. However, supplies are starting to run low and more help is needed. For those that don't know what I'm talking about, all of the children under the age of 18 who are traveling with a Wish child have the opportunity to make a pillow with Hermes, the owl that lives in the pillow tree.
Anyone who has any sewing experience is needed for help.
If you or someone that you know would be interested in helping, any help would be greatly appreciated. Thanks for any help that you can provide.
Here are the instructions that were posted on the Disboards:
These are special pillows for our very special children. Please use new, very soft fabric- this is IMPORTANT for the children.
Here are the directions straight from the Village:
For the project, you will be working with PILLOW FABRIC. (cozy flannel - plain color) and the pocket (Novelty print which can be flannel or cotton) Please look for novelty prints suitable for both boys and girls. Cozy flannel is used for pillow fabric - one yard of flannel will make four (4) Wish Pillows. Cotton, Cotton/Poly blend, or flannel is used for the pocket - One yard of novelty print will make twelve (12) pockets for the wish pillows.
Cut the plain pillow fabric into 36 inch lengths. A rotary cutter and board will help to ensure accuracy and also speed up the process. The pockets are cut into 12 inch lengths. On the pillow fabric make a hem on both raw ends (do not sew selvages). Turn down fabric about 1/4" to 1/2" and then again another 1/4" to 1/2" taking up about an inch to one and a half inches. Accuracy is not critical. On the pocket material, hem one raw end only using the same measurements as on the pillow fabric.
Match the hemmed edge of the pocket and pillow. Sew the pocket material strip to the pillow fabric right side to right side along the length that is not hemmed. (You could go back to the cutting board to pin them together to get a straighter line for sewing.
Take the fabric back to the cutting board and fold the pocket material toward the center (wrong side of the pocket material to the right side of the pillow material). Lay a ruler at the pocket where it is sewn and measure 15 inches. Fold the pillow fabric over the ruler with the fabric right sides together. Then fold the other end on top of the end you just folded at the pocket where it is sewn.
Now cut the flannel lengthwise into 4 pieces approxiately 10-1/2" to 11 inches wide. Flannel comes in different widths so just divide the flannel into fourths and do not worry about the selvage; they will be sewn or serged over.
Make sure the pocket in the front and opening in the back are opposite. The overlap in the back must be at least two (2) inches.
Use your serger to finish the side seams or use a straight stitch and then zig zag the seams. Clip corners and turn pillow to right side.
The finished size of the pillow and pocket will be (depending on your hem widths of 1/4" to 1/2" as well as the width of the flannel) as follows: Pillow 9-3/4" to 10" wide X 15" long. Pocket: 9-3/4" to 10" wide X 11-1/2" long.
And a little more info from the disboards:
You do NOT have to provide the insert, just the pillow case. With some love, some luck, a wish and a kiss, the pillow tree will provide children at GKTW a memorable interactive experience. At the Pillow Tree each child will be guided by Hermes the Owl, the virtual caretaker, to create their very-own "sweet dreams" pillow. The pocket is a place for them to store their hopes and wishes, if they chose to write them down or a place to carry things that they love.
Where to send them:
Philip E. Torres
Support Services Manager
Give Kids The World
210 S Bass Road
Kissimmee, FL 34746
407.396.1114 ext.4280
philipt@gktw.org
Please be sure to include a letter, with every shipment, with the following information:
Name, Address, Phone, Email, Quantity and $ value. This information will allow us to properly thank you, as well as record your in-kind donation as it is required by law.
And here is a quick tutorial I wrote up as I followed the instructions above, hopefully some will find this helpful:
GKTW Pillowcase Tutorial by Ellen Bennett
Okay, I tried this tonight and here is my best attempt to explain what I did.
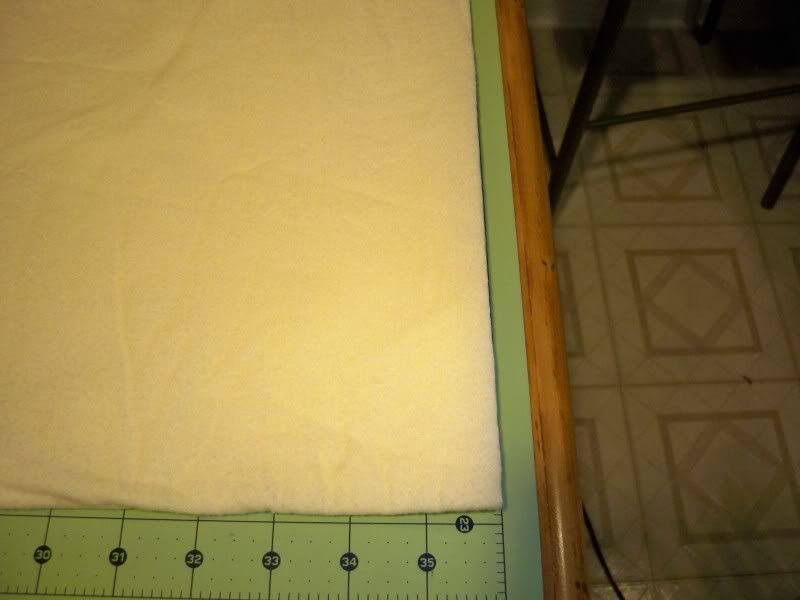
First, cut 36" of solid flannel by the full width of the fabric
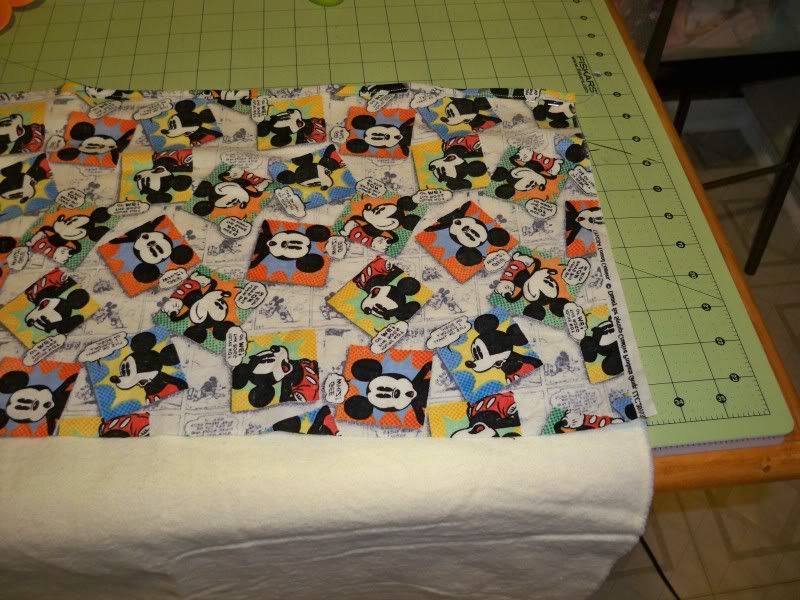
Next cut 12" of novelty cotton by full width of the fabric
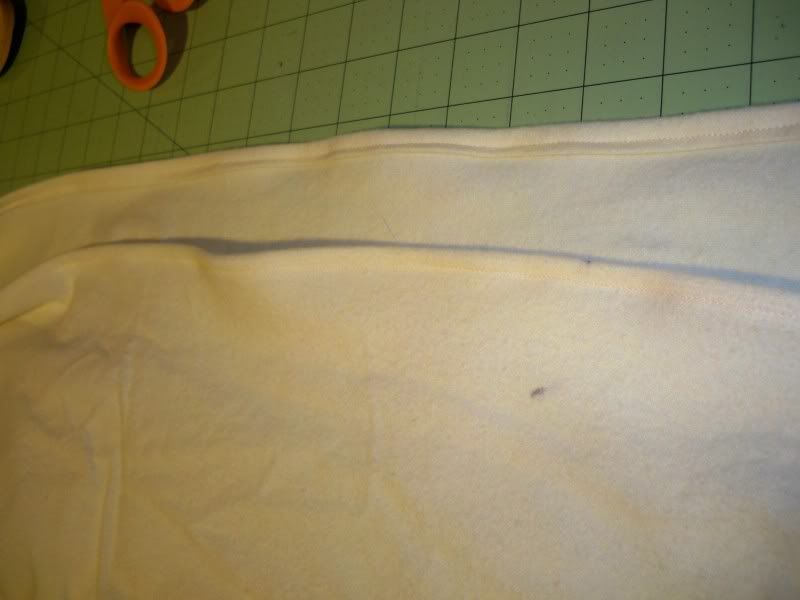
Hem with a narrow hem along one long cut edge of the novelty cotton, and along both long cut edges of the flannel:
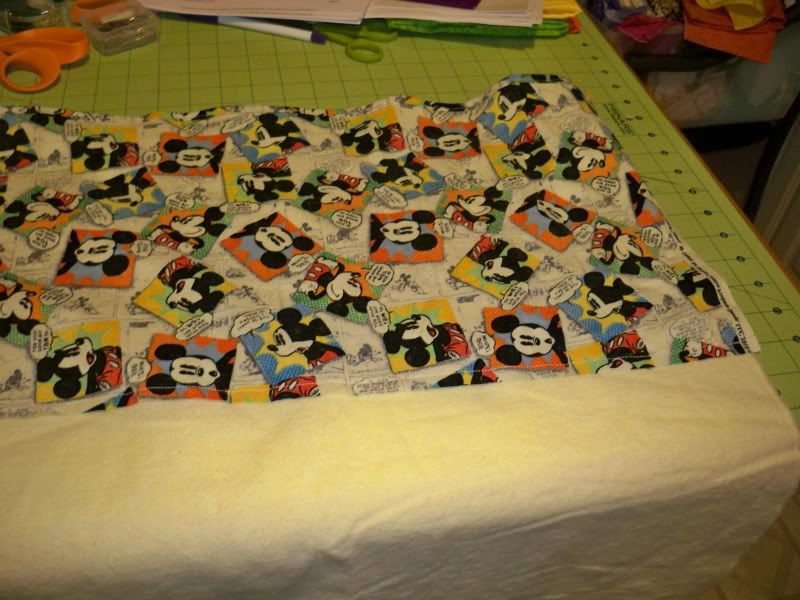
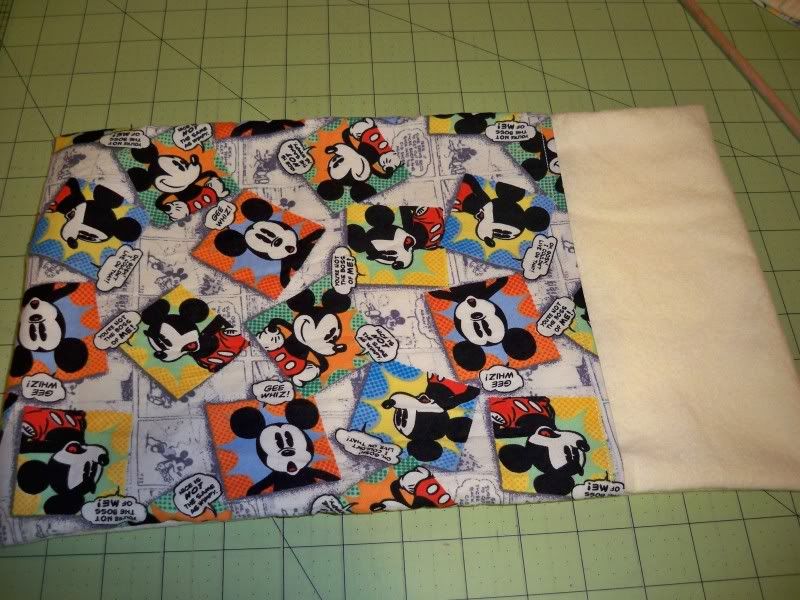
Then line up the hemmed edge of the cotton with one hemmed edge of the flannel, right sides together
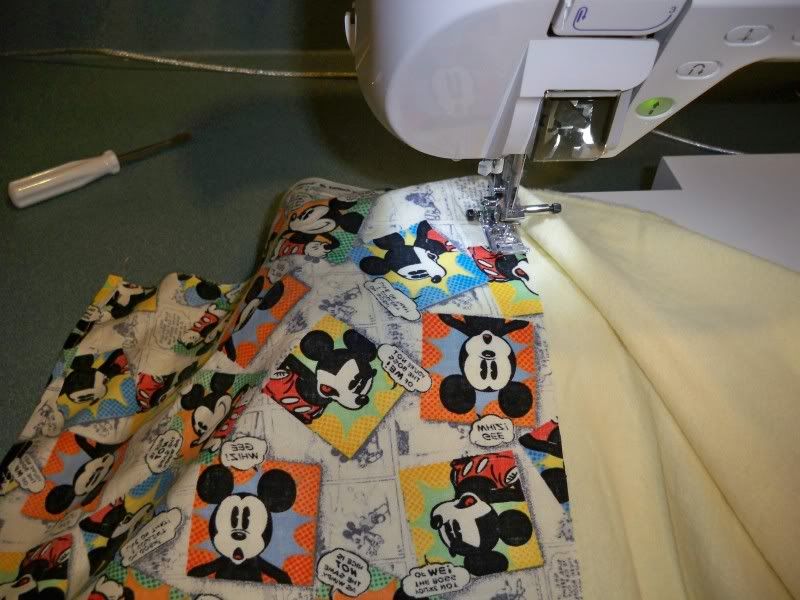
With the hemmed edges aligned and right sides together, sew the cotton to the flannel along the cut edge of the cotton
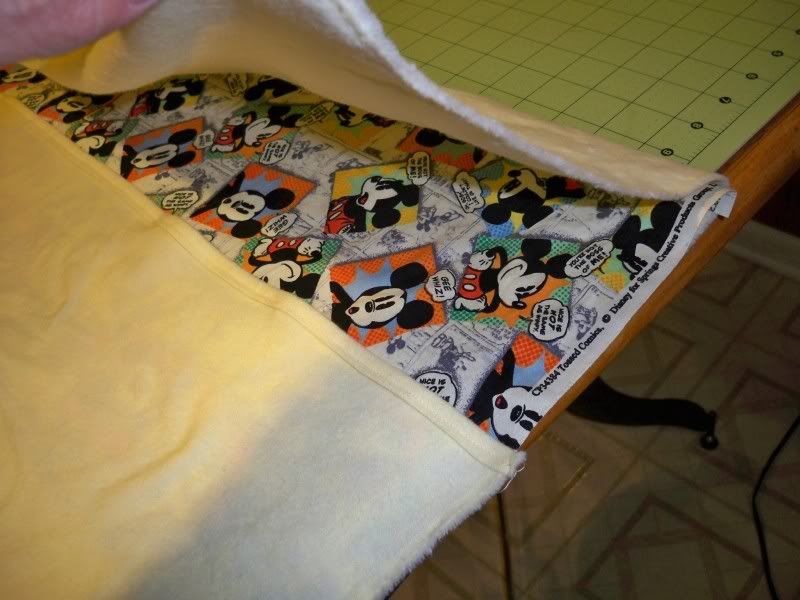
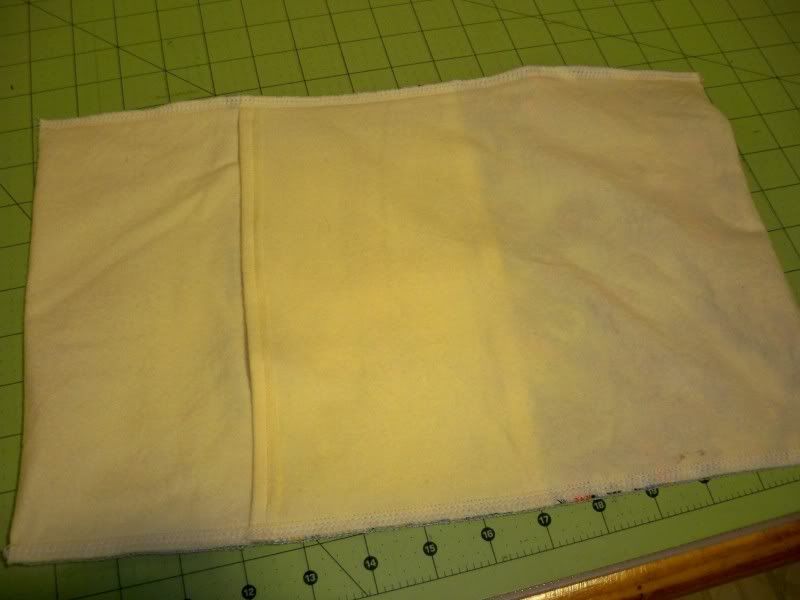
With the 2 pieces sewn together, lay out the fabric with the novelty cotton on top
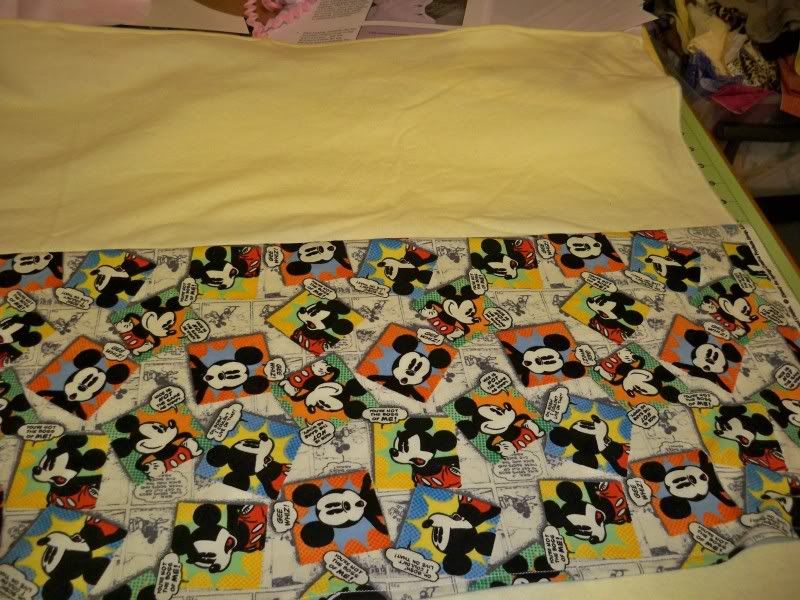
Fold the cotton back at the seam so that the wrong side of the cotton is against the right side of the flannel
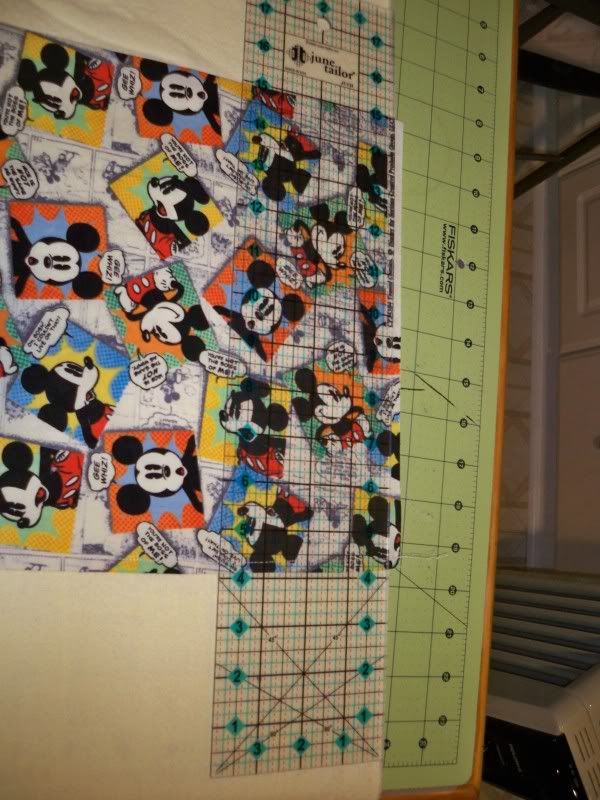
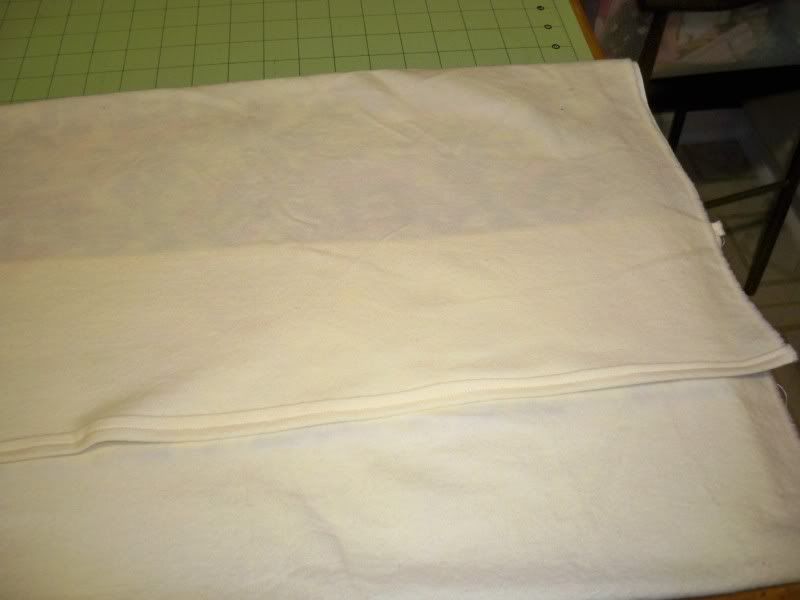
Measure 15" from the seam
fold the flannel back over the cotton at the 15" mark you just made
Fold the other end of the flannel back at the seam where it meets the cotton
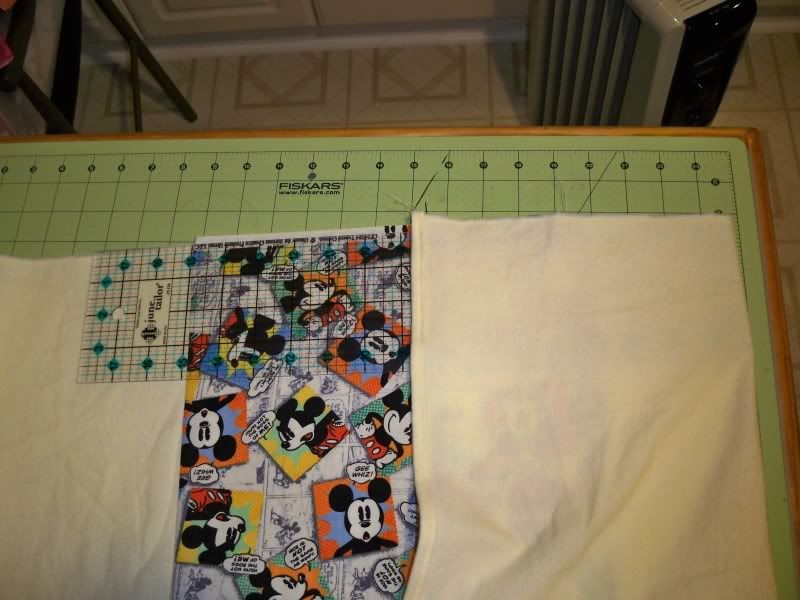
This is where you have right sides together, wrong sides out, and the seamed edges of the flannel should be overlapping at least 2"
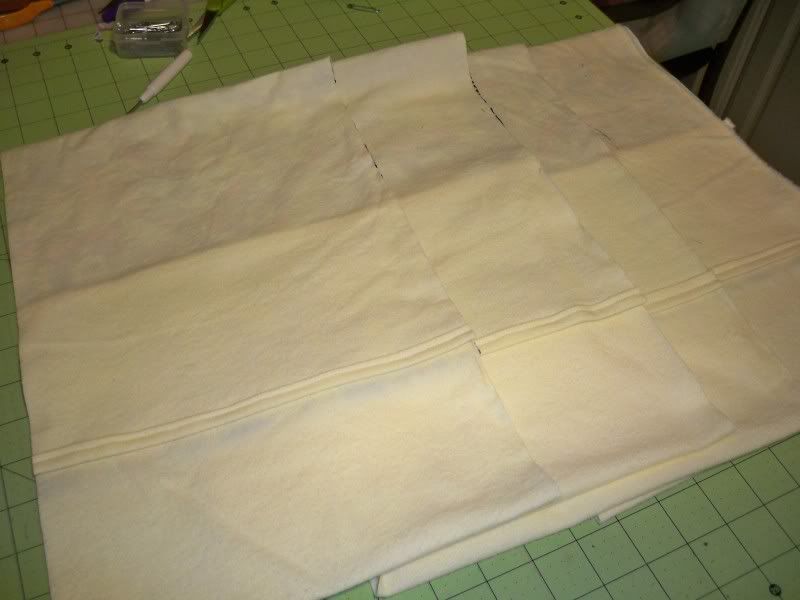
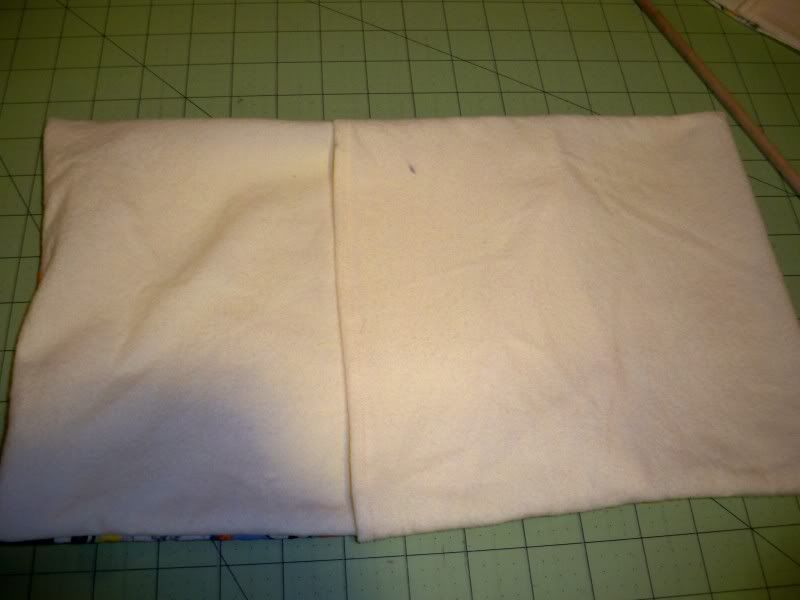
Now you cut the package into quarters that are about 10 1/2 " long
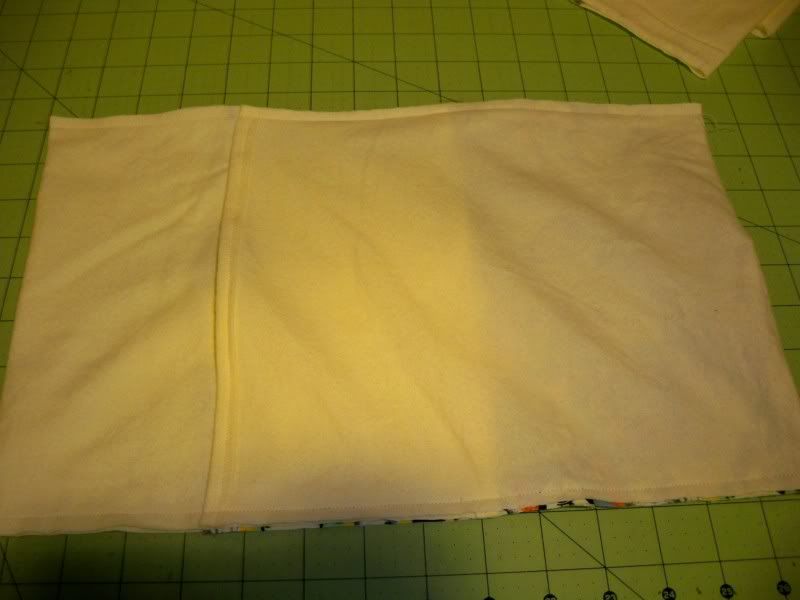
Take one of the folded pieces and sew along both edges, then serge or zigzag
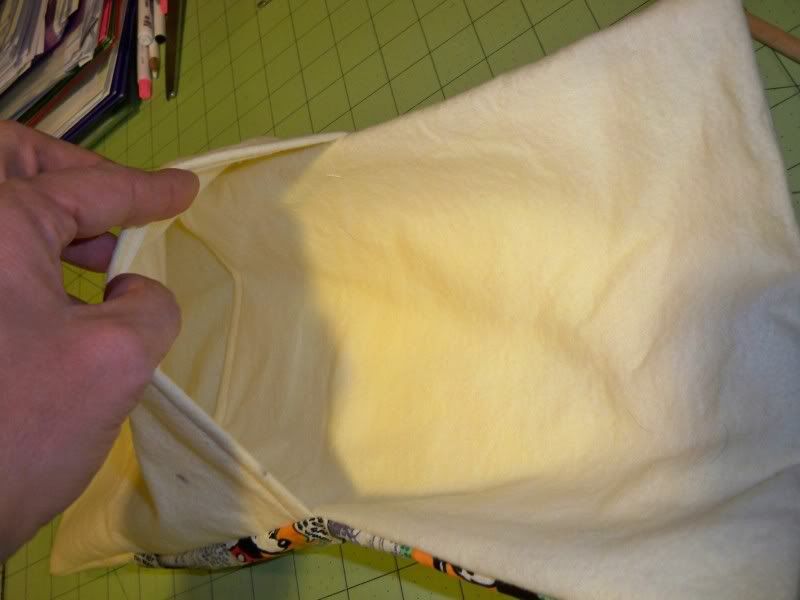
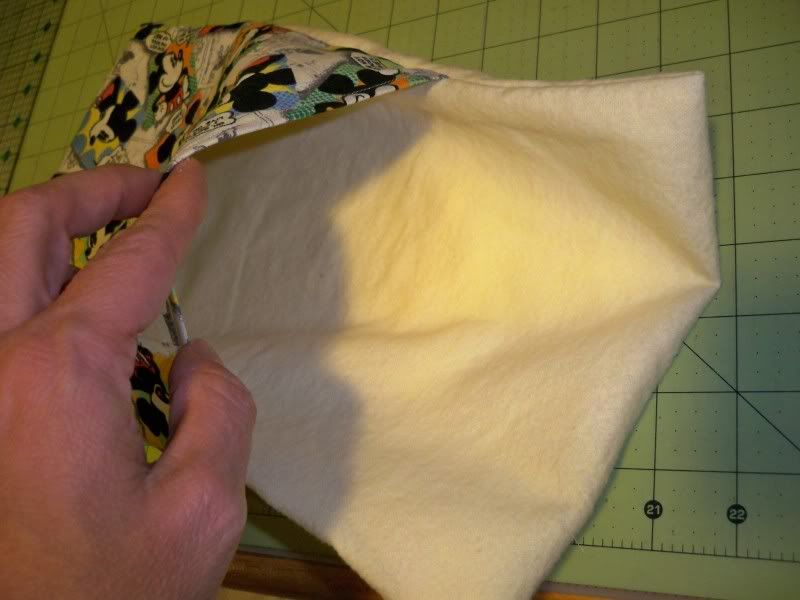
Turn right side out.. you should have an overlapped opening in the back, and a pocket on the front
Thanks for stopping by, and I hope some will find this helpful!!